
Software
10 steps to a track plan
This quick guide takes you in ten steps from first launch to a train running on your own track plan. The pages under Getting started explain each step in more detail.
1. Start LoDi-Aura
- Start the programStart LoDi-Aura. Not installed yet? See Installing and starting.
- Open the Aura windowThe large Aura window opens by itself. If it doesn't, click “Open Aura” in the start window.
2. Sign in to your Lokstore account
Start signing in. In the large Aura window, click the person icon at the top right.
Approve in the customer portal. Sign in to the customer portal with your Lokstore account, then click “Approve device”.
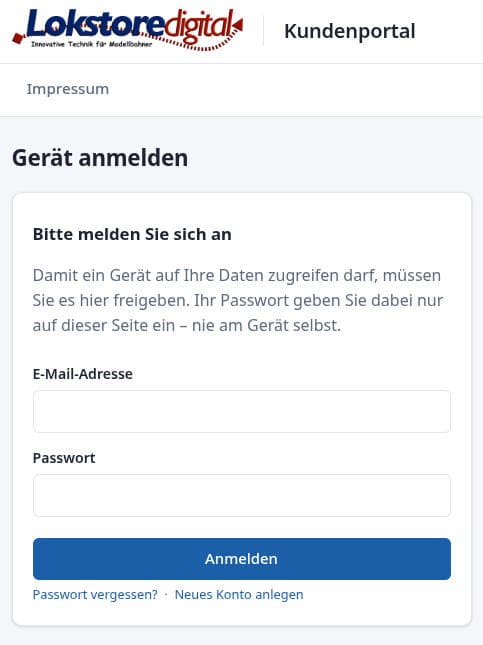
Signing in to the customer portal 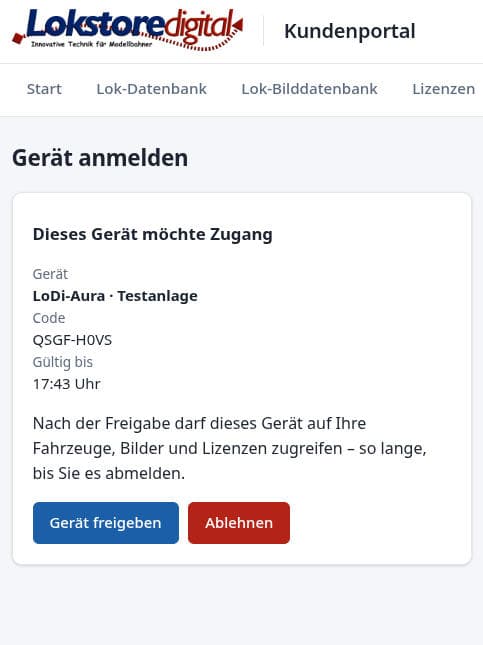
Approving the device
Back to LoDi-Aura. Switch back to the large Aura window. You are now signed in.
Check your licences. LoDi-Aura fetches your licences by itself. You can check them under “System” › “Lokstore account & license”.
3. Create and set up the layout
- New layoutOpen “System” › “Project” and click “New layout…”.
- NameEnter the name of your layout and confirm with “OK”.
- Scale and unitsOpen “System” › “Track plan”. In the “Scale & size” card, choose the gauge and the units: centimetres, millimetres or US (inches and mph).
- LengthsIn the same card, check the “Default block length”, and in the “Turnouts” card the “Turnout length”. Adjust both if needed.
4. Add devices
Open “System” › “Interfaces”. If a device is missing from the list, click “Search for devices”. For each of your devices, e.g. LoDi-Rektor, LoDi-S88-Commander LX and LoDi-Shift-Commander, click “Apply”.
Then switch the layout online with the “Layout” switch at the top right.
When the numbers before and after the slash are the same, e.g. “3/3 online”, all devices are connected.
5. Draw the track plan
Switch on edit mode. Open the “Track plan” tab and click “✎ Edit”.
Open the palette. In the “Tracks” palette, expand the “Straights & curves” and “Turnouts” sections.
Place a straight. Drag a straight onto the track plan.
Adjust the length. Drag the end of the straight to the length you want.
Add a curve. Click “Curve R1” in the palette. The curve attaches itself to the end of the straight.
Extend the curve. Keep dragging the end of the curve until it describes 180°.
Place a turnout. Click “Right turnout”. It also attaches itself to the open end.
Add the rest. Add the remaining tracks in the same way.
6. Create blocks
Drag the “Place block” tool from the “Block & insulated joint” palette onto every piece of track between the turnouts. If a long stretch should become several blocks, set the boundaries first with “Set insulated joint”.
7. Enter turnout addresses
Click a turnout, choose the “Switching command station” and enter the “Address”. Repeat this for every turnout.
8. Enter feedback sensors
Click a block, i.e. one of the light blue bands. Under “Feedback sensors”, enter the feedback address and, if you know it, the length of the block in centimetres. If the row is missing, add it with “+ Feedback sensor”. Repeat this for all blocks.
9. Create locos and trains
Create a loco
- Open LocomotivesOpen the “Vehicles” tab and then “Locomotives”.
- New locoClick “+ Add locomotive” and choose “New Loco manually” or a scan. To bring in locos and cars from iTrain, a Märklin® CS3 or an ESU ECoS, use “Import” instead.
- DataGive it a name and enter the DCC address and the length.
Create a train
Click the “Trains” sub-tab.
- New trainClick “+ Add train” and enter a name.
- Train classChoose the train class. If the list is empty, first create one under “Train classes”.
- Add the locoUnder “Consist”, click “+ Loco …” and choose your loco. The “Train length” field now shows the length of the train.
10. Drive the train
Click “▶ Track plan”. The track plan switches to operation.
On the real layout
Put the loco on the track. The occupancy sensor responds and shows the report on the track plan. If the loco has RailCom, LoDi-Aura places it in the block by itself. Without RailCom, click the block and choose the train.
In a dry run without a layout
Switch the devices offline at the top right and click “Sim”. The layout now runs as a dry run.
Click a block and put the train on the track virtually. Use the arrows to choose which way its nose points.
Send the train off
Click the block with the train again and set the mode to “Auto”. Then click the green arrow. The train runs, the occupancy sensors follow its position and the blocks are updated along the way.
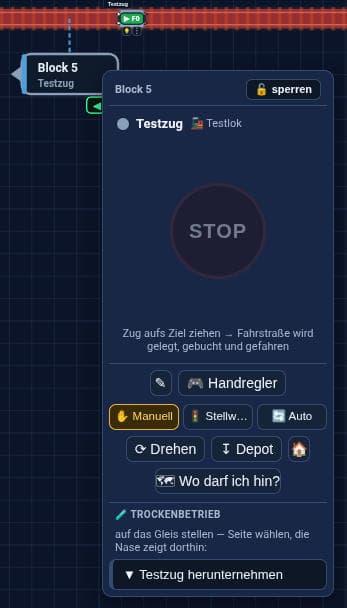
“Manual” mode 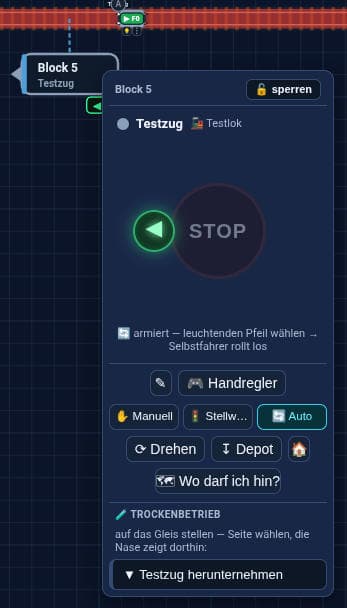
“Auto” mode with green arrow
The movement is easiest to follow in the Trains window, which you open at the top right with “Trains ⧉”.
What's next
To make the train stop to the centimetre, calibrate the loco. Driving explains the three driving modes, Automation your own sequences.